
Theme
Create a site
Create the hosting configuration for your domain, then upload or deploy the application. WordPress can be provisioned during creation; custom apps need their own code and configuration.
Who can use this page? Site Manager (subject to plan/quota). Users cannot create sites.
Prerequisites
- Domain — A hostname you control. Before serving traffic or using HTTP-01 SSL, point its A record at the server. Add an AAAA record only if the server is configured to serve that IPv6 address.
- Quota — Site managers must be under their site quota / plan limit.
- Application files — Have your files or Git repository ready. Port 80 must be reachable when you request an HTTP-01 certificate.
Open the dialog
- Go to Sites.
- Click New Site.
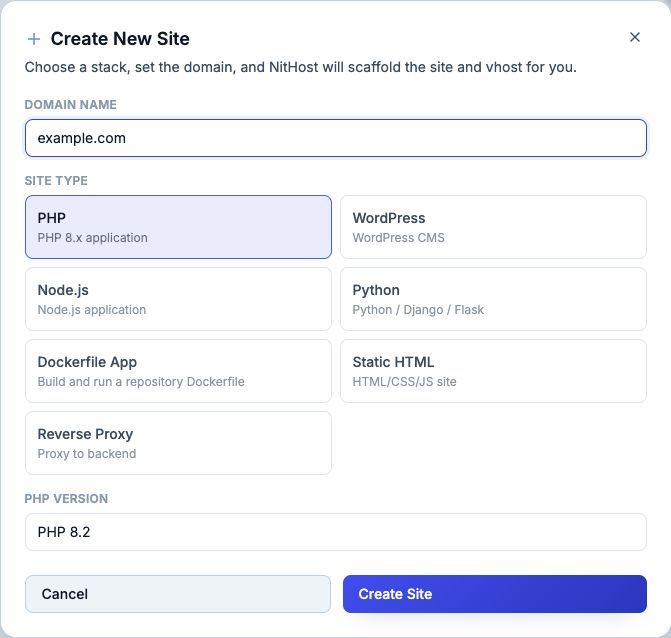
You will see Create New Site: choose a stack, set the domain, and NitHost scaffolds the site and vhost.
Form fields
Domain name
Enter the hostname users will visit, for example:
example.comwww.example.comapp.example.com
Enter only the hostname, without https://, a path, or a port. Configure apex/www preference and redirects later in Site Routing; DNS and certificates must cover the hostnames you use.
Site types
| Type | Choose when |
|---|---|
| PHP | Custom PHP apps (Laravel, plain PHP, Joomla, …) |
| WordPress | WordPress CMS with managed tooling |
| Node.js | Express, Next.js (SSR), and other Node apps |
| Python | Django, Flask, FastAPI |
| Dockerfile App | Trusted single-container repo with a Dockerfile |
| Static HTML | HTML/CSS/JS (optionally SPA mode) |
| Reverse Proxy | Forward to an existing backend service |
Use the walkthrough for your selected type below.
Type-specific fields
| Type | Extra fields |
|---|---|
| PHP / WordPress | PHP version (8.5, 8.4, 8.3, 8.2, …) |
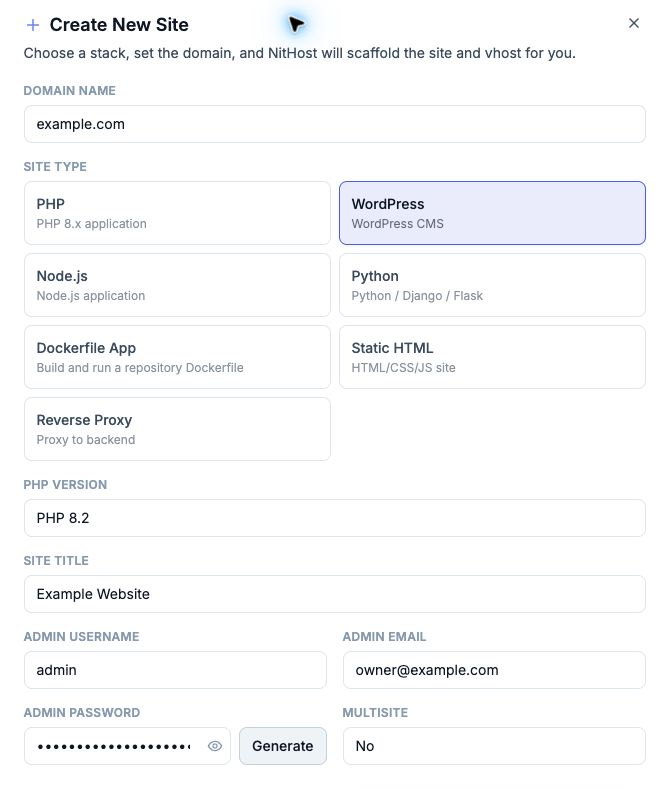
| WordPress | Site title, WordPress admin username, email, password (+ Generate), and Multisite option |
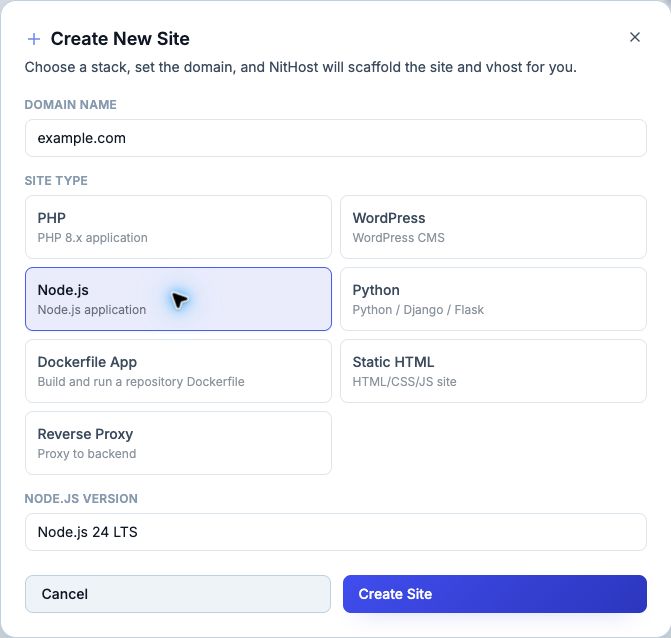
| Node.js | Node.js version (24 LTS, 22 LTS) |
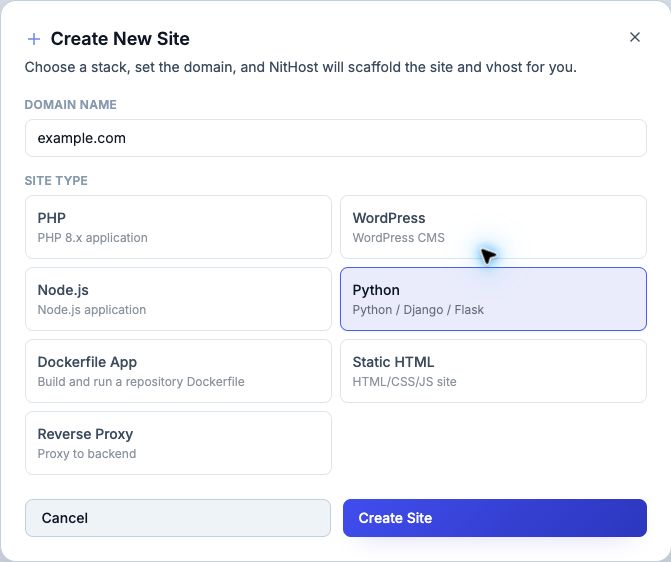
| Python | Python version and start command are configured in Edit Site after creation |
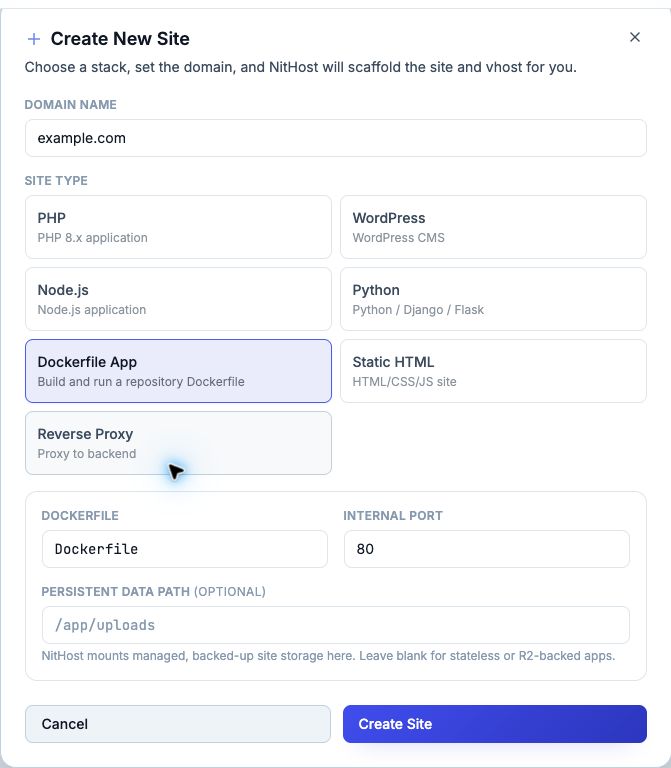
| Dockerfile App | Dockerfile path, internal port, optional persistent data path; health-check path is configured in Git Deployment |
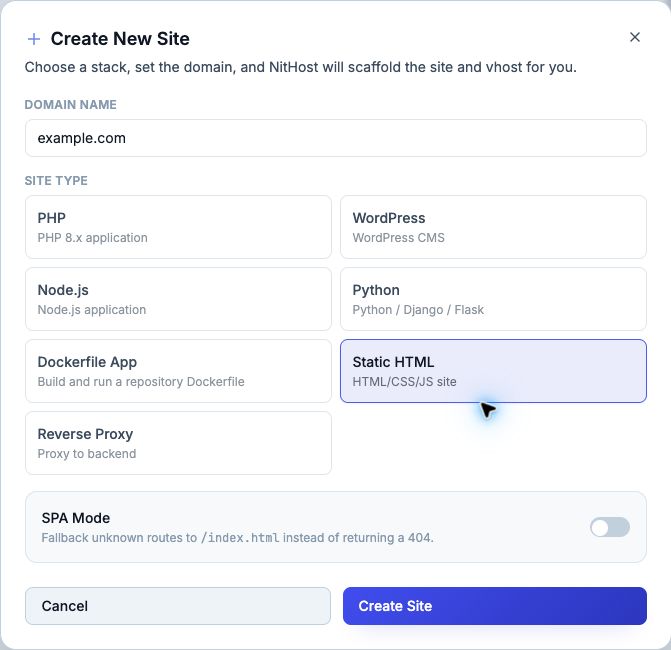
| Static HTML | SPA mode toggle |
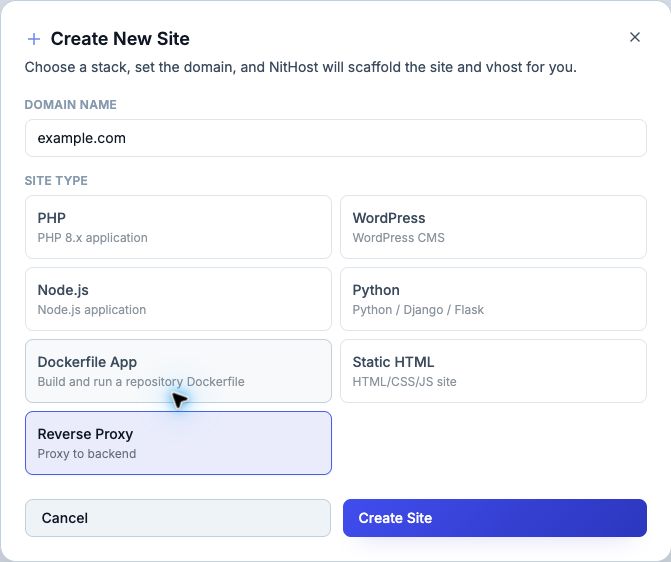
| Reverse Proxy | Proxy target is configured in Edit Site after creation |
Walkthrough examples
PHP
- Domain:
example.com - Site type: PHP
- PHP version: e.g. PHP 8.5
- Create Site
WordPress
- Domain, type WordPress, PHP version
- Site title, Admin username, Admin email, Admin password (or Generate)
- Multisite: No or Subdirectory network
- Create Site
Copy the provisioned database and WordPress login details when shown — see WordPress.
Node.js
- Domain, type Node.js, Node.js version (e.g. Node.js 24 LTS)
- Create Site
- Follow the upload-and-start workflow, or connect a repository and use Git Deployment → Deploy Now.
Set App Port in Edit Site to the port your app listens on (default 3000).
Python
- Domain, type Python
- Create Site
- In Edit Site, set Python version, start command, and App Port; set the deployment health-check path in Git Deployment — see Python
Static HTML
- SPA mode — fallback unknown routes to
/index.htmlinstead of 404 (client-side routers)
Reverse Proxy
- Domain, type Reverse Proxy
- Create Site
- Edit the site and set the proxy target (URL the vhost should forward to)
Dockerfile App
Select Dockerfile App, create the site, then configure Dockerfile path, internal port, health check, and build settings — see Dockerfile App and Git deployments.
After creation
- Confirm DNS points at the server.
- Issue SSL.
- Upload or deploy application code (File Manager or Git Deployment).
- Create and link a database if needed.
- Set environment variables.
- Enable cache if appropriate.
Troubleshooting
| Symptom | What to check |
|---|---|
| Cannot create | Quota/plan; role (User cannot create) |
| Site 404 after create | DNS not pointing here; site disabled |
| SSL fails | Port 80 blocked; wrong DNS; use DNS-01 |
| Node app not serving | App not started; wrong proxy port |